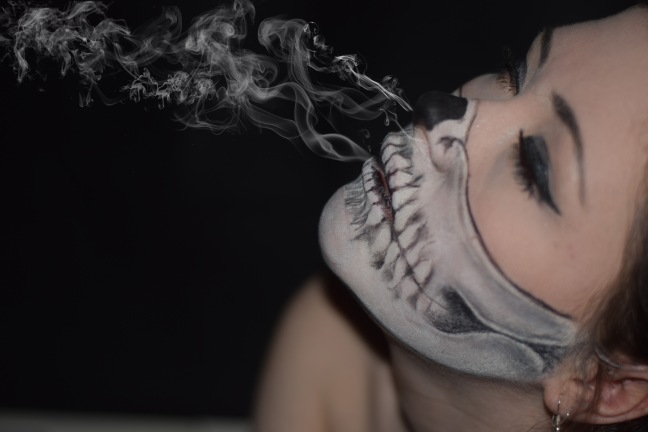
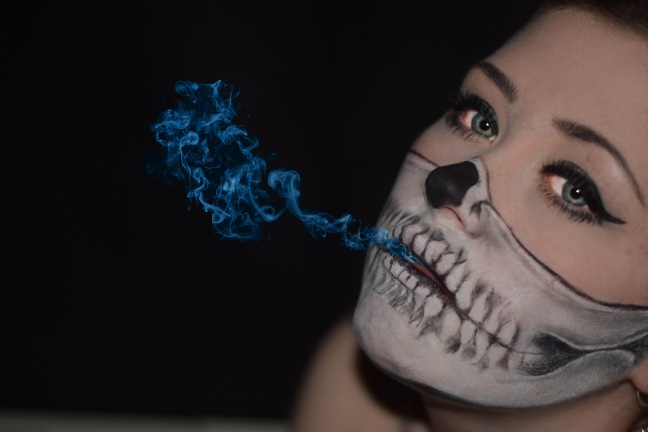
These are my results having edited the images from my Skull Photo Shoot. I used Photoshop to create one photograph with the appearance that plain smoke is being exhaled and another with rainbow coloured smoke. I also altered a third image by adding blue smoke in addition to enhancing the eyes to make them look more striking.
The steps which I completed to achieve these results were:
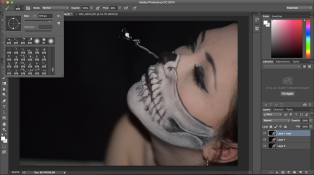
- Firstly, I downloaded a set of smoke brushes for photoshop. This was the link I used to get these from Brusheezy. I then installed them to Photoshop on my laptop by dragging the download document to the appropriate folder.
- Then use the brush in white on a new layer, selecting the desired version of the smoke brush from the drop down menu. Place the smoke on the image where you want it.
- Continue with this process until the desired amount of smoke is reached.
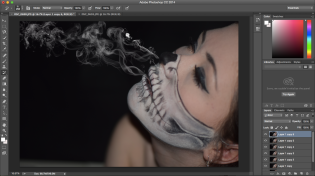
- Ensure that any edges are faded out and not straight unnatural looking lines by using more smoke brushes or the eraser. I found that using an eraser in the shape of a smoke brush worked really well for this.
In general I am happy with this result and think that these brushes in particular are very authentic looking. The placement that I have chosen for the smoke from the mouth works really well however I think that from the nose it doesn’t necessarily look quite as real.
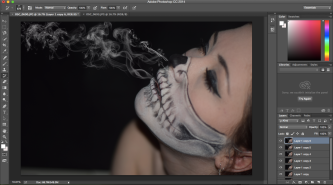
To further this, I then coloured this smoke. The process by which I did that is as follows:
- Create a new layer and use the gradient tool to spread the rainbow colour across the screen while holding shift. Then change that layer’s setting to “colour”.
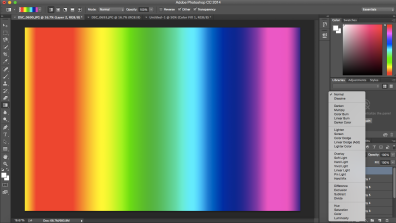
- Then, use the eraser on this layer to remove all the colour in the areas that have no smoke.
This is obviously less genuine in appearance in regards to looking like actual smoke than the plain coloured version however I think it is interesting looking technique and I like the outcome. The process was fairly time consuming for what it is but I think the erasing has been done to a satisfactory standard yet it could have been more accurate.

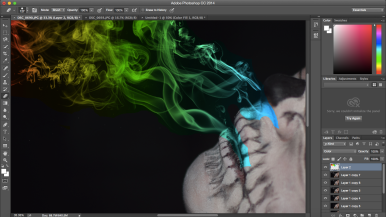
This is my final edited photograph. I used the same processes as above to create the smoke and add the colour, although I only used shades of blue this time. I aimed to improve on my previous attempts. I think the smoke here in shape looks better than my first try as it looks as though it is actually leaving the mouth in a streamline and billowing into a small cloud. I have also done a better job of cleaning up the edges so that they’re faded out and not straight. However, I did not spend as much time on erasing the unwanted colour here as I did on the other image so I don’t think this one is as neat as it could be. That being said, due to the size of the image it is not noticeable.
On this photo, I also enhanced the eyes somewhat, brightening them using the dodge tool. This makes them more striking and draws the eye to them. I chose blue smoke to stick with similar, harmonious tones with the eyes as I used a cool blue, so that the colours compliment each other.

Very Impressive. The face painting looks cool and the last picture does look striking, it dose grab you.
LikeLike
Brilliant effects and great explanation of techniques.
LikeLike